The ever-shrinking size of electronic components makes a microscope essential for PCB inspections. But not all microscopes are created equal – and using a subpar setup for extended periods can leave you sore or even injured. If you spend a reasonable amount of time inspecting PCBs, you can make your job easier and safer by switching to a digital microscope like the Dino-Lite AM73915MZTL.
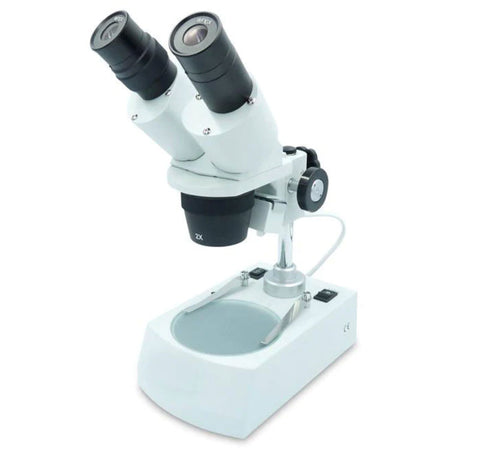
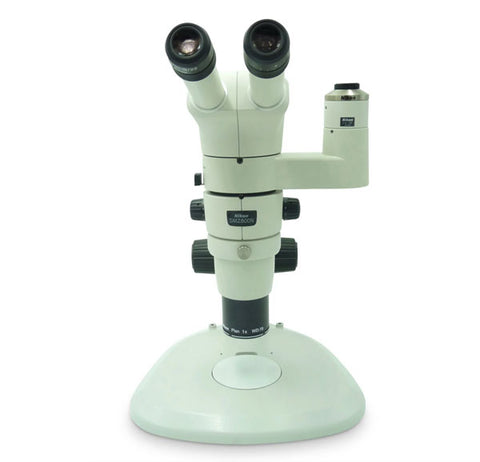
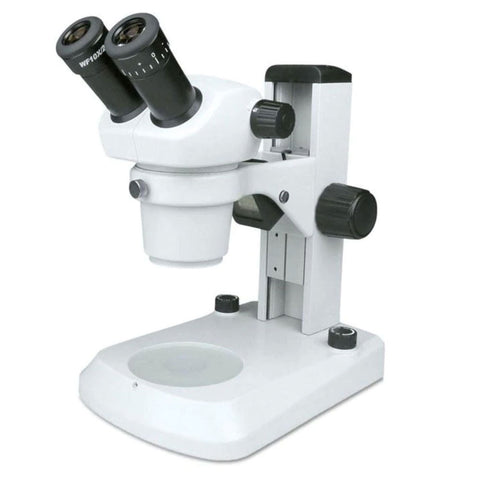
]]>But not all microscopes are created equal – and using a subpar setup for extended periods can leave you sore or even injured. You may prefer to use an optical industrial inspection microscope or one of the new generation digital microscopes.
If you spend a reasonable amount of time inspecting PCBs, you can make your job easier and safer by switching to a digital microscope like the Dino-Lite AM73915MZTL.

Stay comfortable and productive
With a digital microscope, you don’t need to hunch or bend down to view the circuit board through your eyepieces.
Instead, the image is projected onto a screen, allowing for a comfortable ergonomic posture. This helps reduce your risk of back, neck and eye strain, as well as musculoskeletal disorders.
A digital microscope not only prevents injury but also boosts productivity and minimises errors by reducing discomfort and downtime.
Built-in camera
Digital microscopes make documenting your work a breeze.
They have built-in recording capabilities, and taking pictures or video is often as simple as tapping a button. The Dino-Lite AM73915MZTL, for example, has a MicroTouch function – a small, sensitive button that allows for the easy recording of photos or video without blurring your image.
Recordings can be stored directly on your computer, or you can keep them on the microscope, depending on the model you have.
And of course, there’s no need to splurge on a separate camera – saving you both time and money.
Easy sharing
With analogue microscopes, sharing your work can be inconvenient and time-consuming. Users either have to take turns and constantly adjust the eyepieces or use a separate camera if they need to send images off-site.
With a digital microscope, you can say goodbye to crowding around a microscope because everyone can see the image on a big screen at the same time. It’s great for collaboration with co-workers, and very useful for training purposes.
And if you need to consult a colleague remotely, it’s a breeze with screen-sharing software. Some microscopes like the AM73915MZTL even come with Skype and email functions already integrated, making it faster and easier than ever to share images and video.

Software enhancements
Many digital microscopes come with customisable software that can make your work easier and more efficient.
For example, the Dino-Lite AM73915MZTL has a software suite that allows you to perform advanced measurements, add notes and even digitally process your images.
You can also look forward to new and improved features as the software is updated over time. And of course, you can install your own specialised software tailored to your specific needs.
So, if you’re looking for an effective, ergonomic and affordable microscope for SMD Soldering and Electronics Repair, check out Dino-Lite’s range of digital microscopes today.
]]>