Veterinary Microscope with 100X DRY Objective - NEVER USE OIL AGAIN

Microscopes for primary schools
What type of microscope are used in primary schools?
If your students are after a fun and hands-on educational experience, they’ll find a classic microscope extremely satisfying.
From pre-school through to high school, a microscope will make a delightful and enlightening addition to your classroom.
Types of microscopes
There are three main types of educational microscopes – stereo, compound and digital.
The right type for your students will depend on what objects they’ll be looking at.
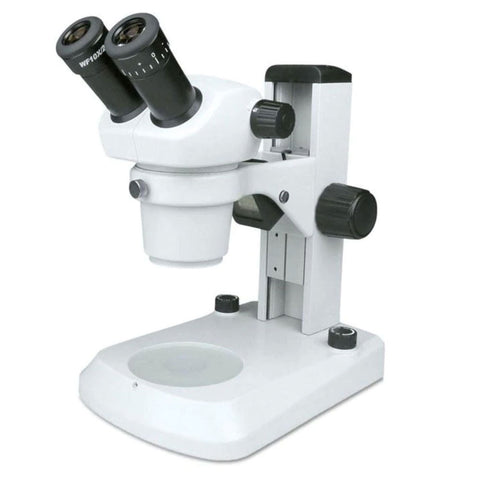
Stereo
Stereo microscopes are used to look at bigger 3D objects like plants, insects, rocks, minerals or electronics. They generally have magnifications of between 10x and 100x.
They’re a popular choice for younger students because they’re more appropriate for the early science curriculum, and they let students handle the specimens while they look at them. The hands-on experience can be more tactile and engaging for younger minds.
Optico ASZ-200B Stereo Microscope 20x & 40x Magnification
Stereo microscopes are also appropriate for some high school classes. Biology and geology students in particular often use stereo microscopes for inspecting rocks, insects and animals, as well as for dissections.
Compound
Compound microscopes on the other hand are used to look at truly microscopic things that you can’t see with the naked eye – cells, tissue and all manner of microorganisms.
They have a much higher magnification (usually up to 1000x) and are essential for the highschool science curriculum.

Optico N400M-XY Student Microscope
Compound microscopes are more complex and a bit harder to use than stereo microscopes so younger children tend to have trouble using them.
Digital
The ability to share and record images gives you a lot of flexibility in both your teaching style and your budget.
Digital microscopes let you put a live microscope image up onto a screen, monitor or smartboard. You can even use wi-fi to send the microscope feed to everyone’s smartphone or tablet – in the class or at home.
They range from fully integrated digital microscopes (with a camera instead of an eyepiece) to handy little cameras that you can simply pop onto the eyepiece of any existing microscope.
Because the whole class can see a specimen or slide at once, this means you save the time otherwise spent showing each student individually.

Dino-Lite AM2111 Basic Digital Microscope
It also means that if you’re on a budget, you can opt for a single microscope in the classroom without sacrificing the essential parts of the lesson.
The ability to take pictures and share them also can provide interesting opportunities for assignments while encouraging the social aspects of the educational experience.
Top 3 features to look for
Ease of use
By spending less time setting up equipment at the beginning of each class, you’ll have more time to teach.
The simpler your setup and the easier your chosen microscope is to use, the more your students can focus on their lesson.
If they struggle to use overly complicated equipment or can’t see a clear image easily, some students are likely to lose interest, leading to poorer learning outcomes.
Keep your students engaged with the right setup for their age group.
Durability
Any equipment handled by students is going to have its share of bumps and scrapes, so choose a well-built microscope that will be able to survive the rigours of the classroom.
First, look for a sturdy metal frame. Microscopes with a plastic body are too fragile and can easily break.
Second, look for built-in safety features. For example, some models let you lock all the detachable parts of the microscope into place – this stops them being removed or misplaced, and also prevents them from falling off and getting damaged when the microscope is being carried around.
There are also other options such as focus locks, which prevent a specimen from accidentally colliding with the microscope lens. These features can save you a lot of money in repairs and replacement parts.
Third, consider your climate. For example, using microscopes in warm, humid regions comes with a special problem – mould, fungus and bacteria on the delicate equipment. You can help prevent this by getting special coatings for your microscope that inhibits microbial growth.
Finally, your microscope should be easy to maintain. It will get a lot of use and so should be cleaned and serviced frequently.
Portability
Unless you have a dedicated lab, your students will have to carry their microscope frequently so look for a lightweight model (not to mention one that fits on the desk and in the storage space you have available).
Lifting a heavy or unwieldy microscope can lead to accidental injuries – or expensive repairs.
Some microscopes come with handles to make transport easier. Microscopes that have secured power cords will also be less of a tripping hazard.
The next step
There are many great microscopes out there. Hopefully this quick guide makes it easier for you to find the right one for your classroom – and your budget.