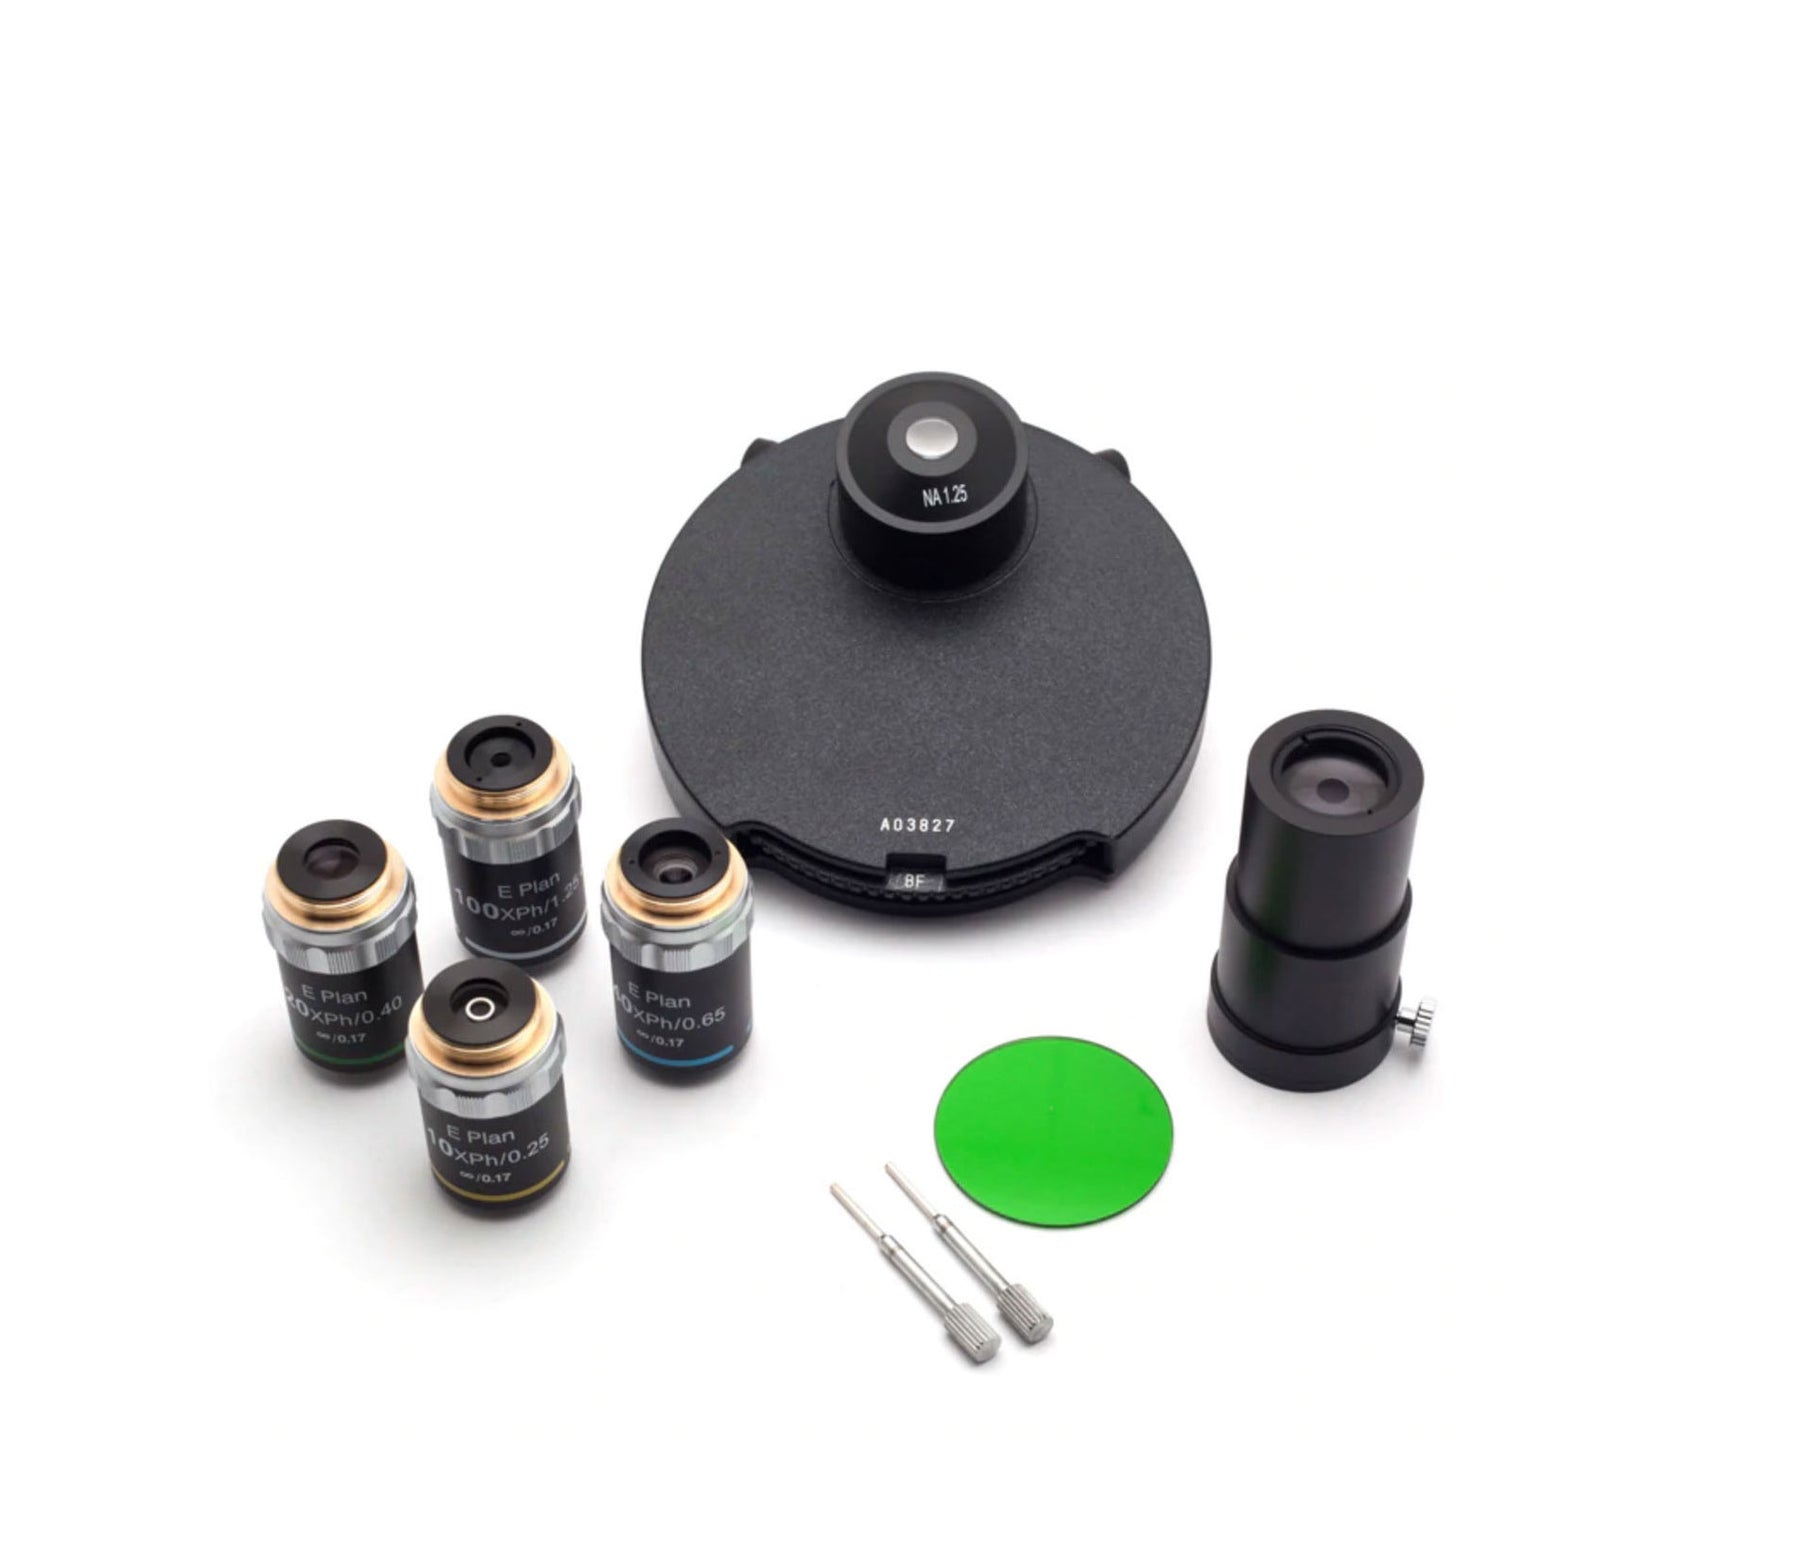
Veterinary Microscope with 100X DRY Objective - NEVER USE OIL AGAIN

How to align a phase contrast microscope annulus
What technique lets you see inconspicuous and transparent cells in rich detail? That would be phase contrast.
However, if you’re going to get the most out of phase contrast microscopy, its components must be correctly aligned, or you’ll find yourself with a washed-out image with low contrast.
This quick guide shows how to centre and align your phase contrast annulus (annulus is the Latin term for ‘ring’).
What you’ll need
- A microscope equipped for phase contrast
- A phase contrast centering telescope (or a Bertrand lens in a pinch)
How to centre your phase contrast annulus
- Set your microscope up for Köhler illumination (if possible).
- Place your specimen on the microscope stage.
- Make sure the 10x phase objective and the appropriate 10x annulus (often ‘Ph1’) are in the viewing position.
- Take out one of your microscope’s eyepieces and replace it with your phase contrast telescope. You should be able to see two rings – one light, one dark.
- While looking through it, adjust the telescope until the light and dark rings are in sharp focus. The two rings are the condenser phase annulus and the objective phase plate. The goal will be to align these two rings on top of each other.
- Use the annulus centering screws/pins/knobs on the side of the condenser annulus to align the two rings until they overlap perfectly. (Depending on your microscope, you may need to use a screwdriver)
- Replace the telescope with your regular eyepiece and enjoy your new contrast.

You shouldn’t need to realign your microscope often, but if the image starts to brighten or whiten, it’s probably time to realign.
Tips
- If you don’t have a phase contrast telescope or Bertrand lens handy, you can simply remove the eyepiece and look directly down the ocular port, but it can be difficult to see the rings properly.
- Make sure you adjust the annulus centering screws/knobs, and not the main condenser centering screws/knobs.
