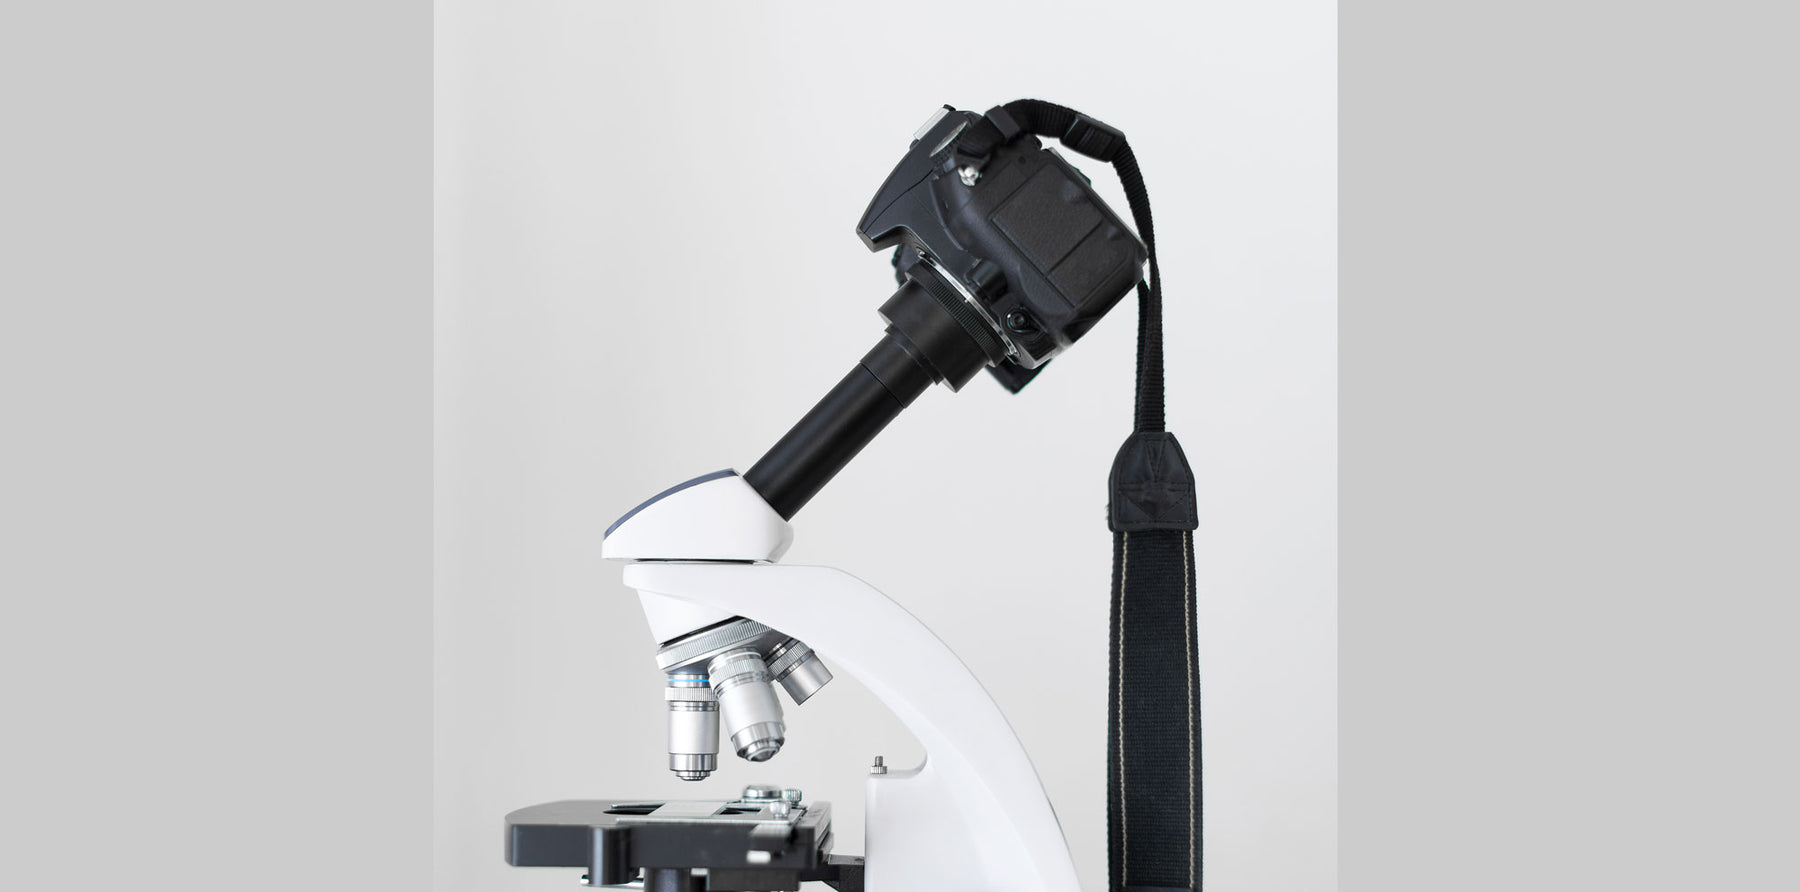
How to connect a DSLR camera to a microscope
If you’re after the very best quality image possible, you’ll need to attach a DSLR camera to your microscope.
DSLR cameras have excellent resolution, dynamic range, colour range and sensitivity, but can be finicky to set up.
Here’s what equipment you’ll need, and what you’ll need to set up your camera.
What you’ll need
Microscope
First, you need a trusty microscope – ideally one with a trinocular head (they have an extra eyepiece designed for attaching cameras).
It’s technically possible to connect a DSLR to a regular microscope eyepiece, but the weight of the camera can damage or destabilise all but the sturdiest of microscopes. You shouldn’t try this unless you’re supremely confident in what you’re doing.

Adapters
Next, you need a DSLR Camera Microscope Adaptor to connect the camera to your microscope.
Finding the right adapters for your situation can be easy – or quite challenging – depending on your camera and the model of your microscope.

Sony DSLR Microscope Camera Mount
The most important thing to be aware of is compatibility – your DSLR adapter must be compatible with your brand of microscope (Nikon, Canon, Sony etc).
If you’re lucky enough to have a microscope and camera of the same brand, you’ll probably only need a single DSLR adapter to connect the two. But if your camera is from a different brand, you might need a separate T2 ring adapter to connect your own DSLR adapter to your camera.
Whatever combination you go with, make sure your adapter is compatible with your specific camera and microscope.

Canon EOS DSLR Microscope Camera Mount
How to connect your camera to your microscope
Connecting your camera to your microscope is usually quite straightforward.
You might run into some variations based on different brands and your personal setup, but the procedure is largely the same.
- Disconnect the regular camera lens from your DSLR camera. There’s usually a release button on the side of the camera. Just hit the release and gently twist your lens (often clockwise) until you can detach it.
- Attach your T-ring adapter to your DSLR adapter (if needed). T2 rings just screw onto the top of the DSLR adapter with no fuss.
- Attach your DSLR adapter to your camera. There should be a red or white dot on the outside ring of your adapter (or T-ring), and a red or white dot on the connection area of your DSLR camera. Line up the two dots, then gently rotate the adapter (usually anti-clockwise) until it snaps into place.
- Insert the other end of the adapter into the vertical phototube/camera mount/trinocular port of your microscope. The adapter with your camera attached will just sit in the trinocular port of your microscope. Some adapters or microscopes might have ‘locking screws’ that you can tighten to prevent the camera from moving in place.
If you’re using adjustable or universal DSLR adapters, you might also have to attach an additional adapter to either the microscope end of your DSLR adapter or into the phototube directly so that the DSLR adapter will fit your microscope correctly.
Some adapters or trinocular ports are also extendable, letting you increase or decrease the length of the optical system to suit yourself.

