Veterinary Microscope with 100X DRY Objective - NEVER USE OIL AGAIN
How to use a USB digital microscope to set stylus rake angle (SRA) at 92 degrees
Remember when everyone ditched vinyl records for CDs?
Well, they’re back – with a vengeance. But while you’re assured of their distinctive charm, how can you be sure you’re getting the best sound quality?
In many cases, subpar sound quality can be traced to the angle of your stylus rake (otherwise known as the vertical tracking angle) – or how the needle is placed on the record. If you have an elliptical stylus rake, you can change the angle until you find the sweet spot that you think sounds best.
You can do this just by listening to the music and making adjustments or you can try eyeballing it, but both of these methods leave your audio quality up to chance.
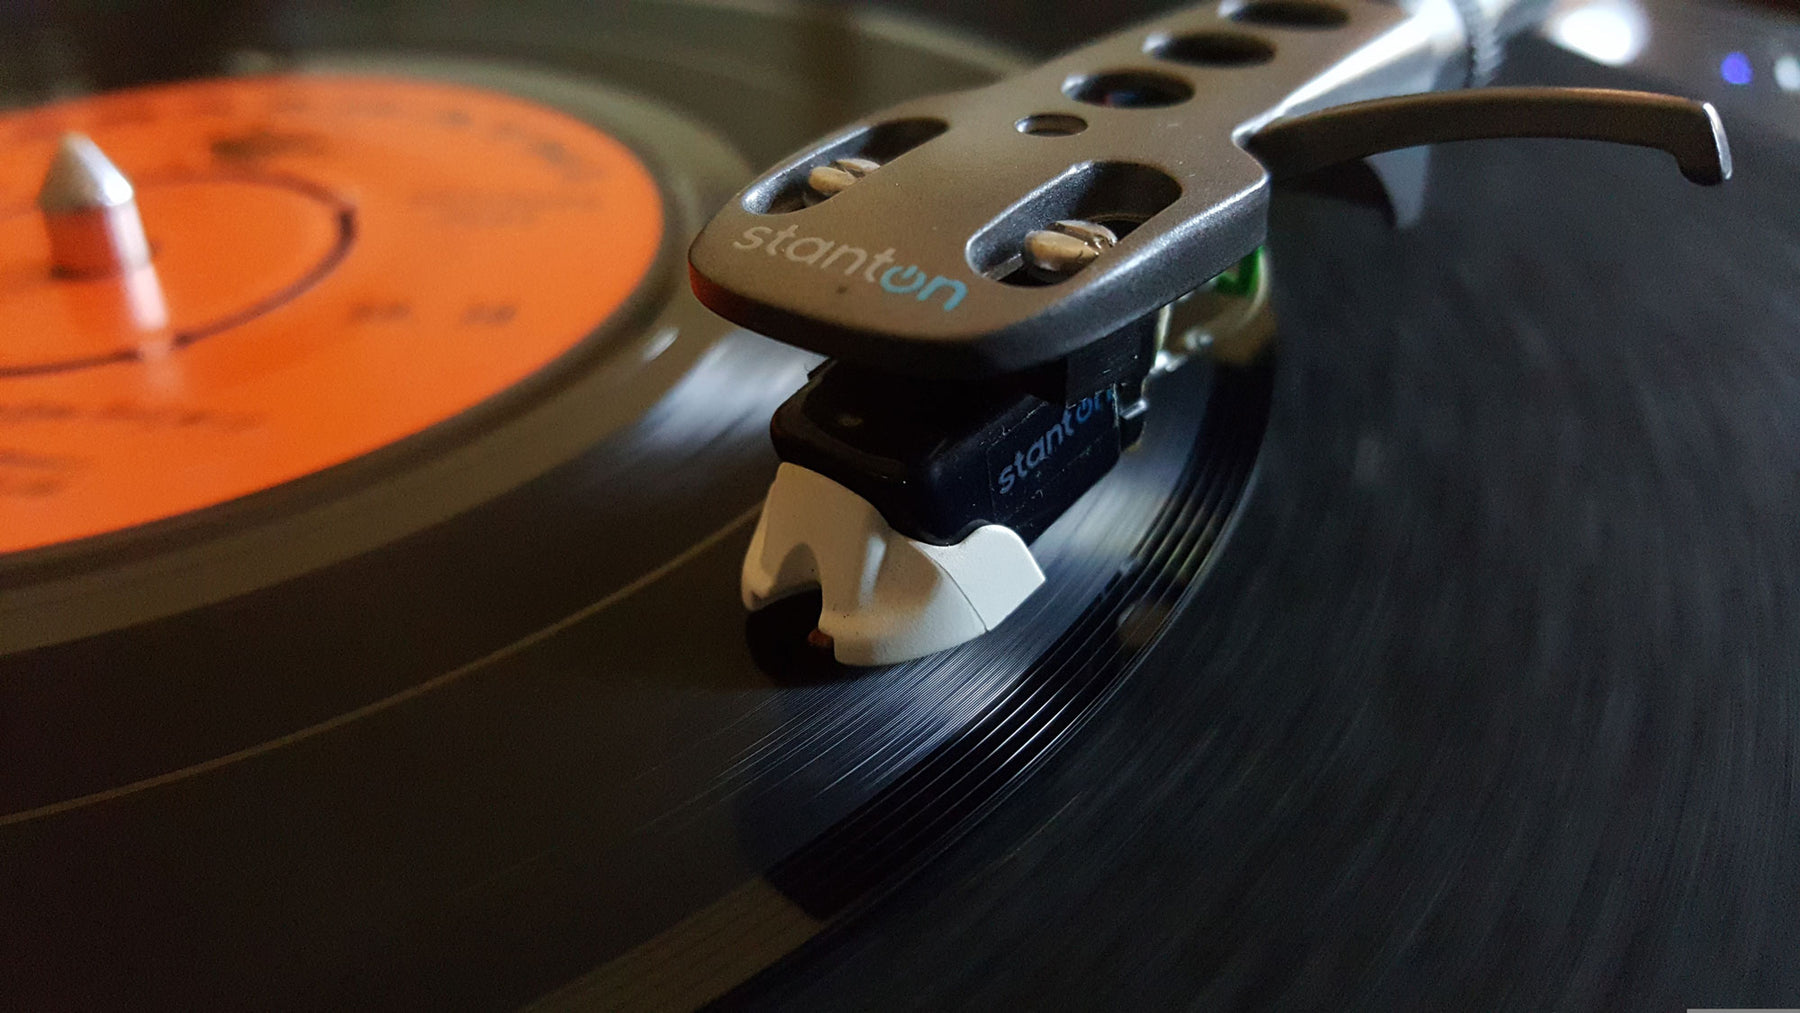
Fortunately, there’s a more reliable method – using a handheld digital microscope such as the Dinolite AM4111T to find the perfect angle – generally recognised as 92 degrees.

The high-quality images and measuring software that is included with the Dinolite makes it easy to accurately achieve the right SRA.
Below is a step-by-step guide to assist you through the process, which is not for the timid – but true aficionados will find it well worth the effort.
You’ll need:
- A Dinolite AM4111T microscope or similar
- A microscope stand (or alternative)
- A computer/laptop
- A spare CD
… and a fair bit of patience!
First, connect your Dinolite AM4111T to your computer or laptop and install the microscope’s software. Gently remove the plastic LED shield from the microscope as per the instructions (this will get you close enough to the stylus to get a good picture), and set the magnification level to around 200x. Secure it in your microscope stand.
Make sure you start with the tonearm parallel to the turntable platter and then take the following 10 steps:
- Place a CD on the platter, shiny side-up, and position it so that it very slightly protrudes off the edge of the platter.
- Carefully lower the stylus onto the CD and then move the tonearm until the stylus is as close to the edge of the CD as possible (again, very carefully).
- Manoeuvre your microscope very close to the platter and CD, and as parallel as possible. You want to be looking straight across the surface of the CD, side-on at the stylus.
- Bring the edge of the CD into focus using the microscope. You may have to carefully adjust the position of the CD.
- Once you have the edge of the CD in focus, slide the stylus to the edge of the CD so that it also comes into focus. (This can be a very frustrating experience and you’ll probably have to do it many times!)
- If it’s hard to see the stylus against the background, you can place a piece of folded paper behind the arm to give you a better contrast. You can also adjust the lighting using the microscope’s software.
- Once you’re happy with your in-focus stylus, take a photo of it using your software.
- Photo captured, use the measurement software to figure out your rake angle. Your best bet is the ‘3 point angle’ function, which allows you to pick any three points on your image and automatically determine the angle between them.
The simplest method is to pick a point on the CD’s surface somewhere under the arm, the point where the stylus makes contact with the CD, and a point at the top of the stylus along its central axis. This will give you a good approximation of your rake angle. There are several other calculation methods you can try, which you can use to double check your approximations.
- Once you know the angle of your stylus, you can make an adjustment and then remeasure it to see if you’re close to 92 degrees.
- Repeat as needed, until your SRA is set precisely where you like it.
The right SRA can be painstaking to set up but, if you like microscopes and you like to measure things, you’ll be in your element. Sometimes actually achieving improved sound quality is as much fun as listening to the music!