Microscope eyepiece reticles and micrometers explained
Think of a reticle as a contact lens with a crosshair. But for your microscope, of course.
You’ll need a reticle if you want to measure microscopic specimens (and a stage micrometer too, but we’ll get to that).
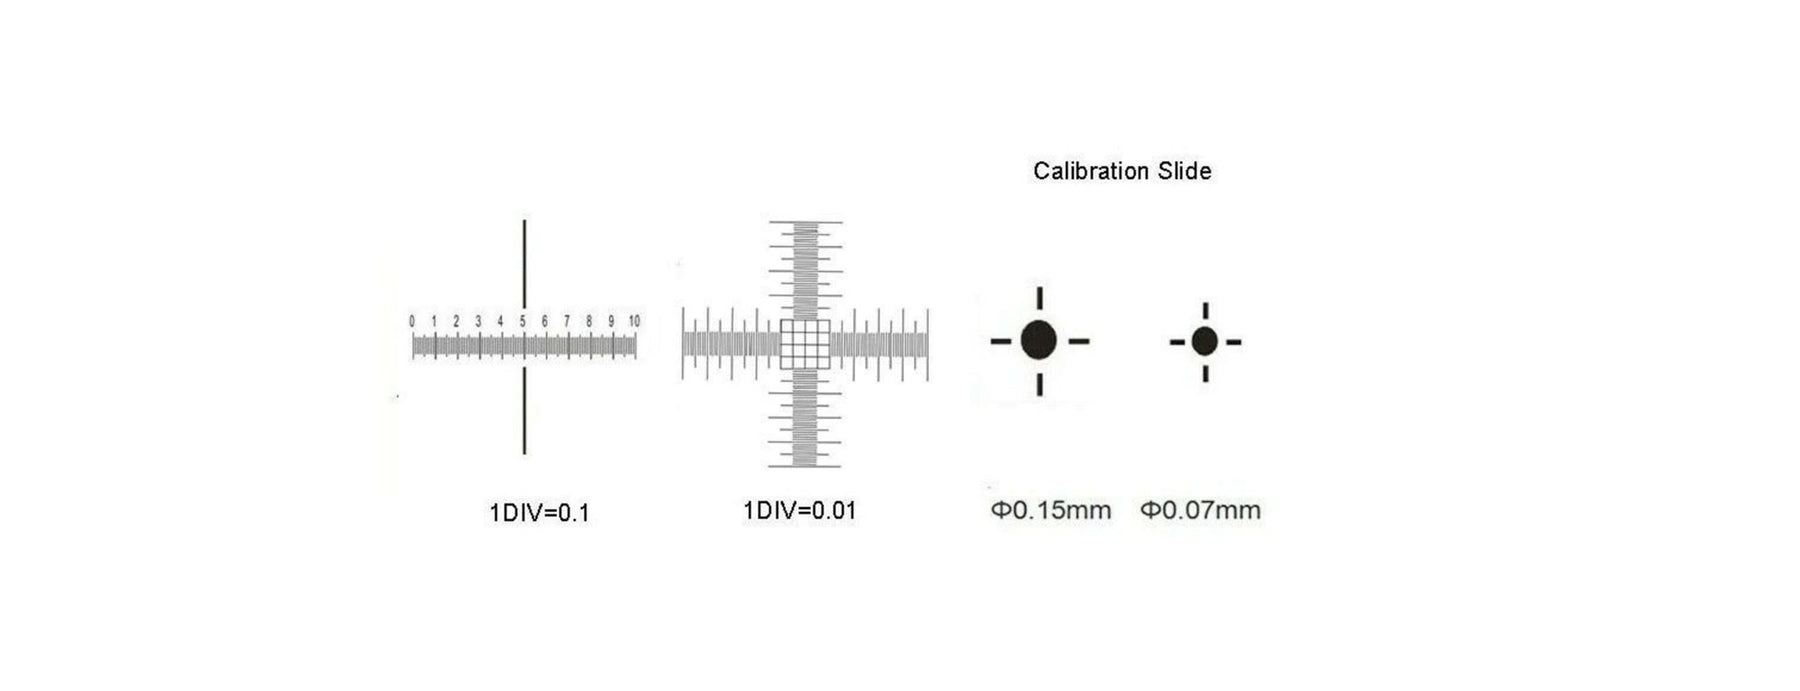
A reticle is a simple instrument – a small glass disc with an unlabelled measuring scale etched into it.
When you slot the reticle into your eyepiece, you’ll have a measurement scale overlaid on your microscope image.
Installing a reticle
Installing a reticle can be straightforward, a little complicated or outright impossible, depending on your microscope.
If you’re lucky, you’ll just need to remove the eyepiece from your microscope, unscrew the lower section, insert the reticle (the right way up!) and put everything back together again. Job done.
If you’re unlucky, your eyepiece might require a more elaborate disassembly and an extra component installed to hold the reticle in place.
If you’re really unlucky, reticles won’t be compatible with your eyepiece at all, particularly if you have an older model.
Be aware too that eyepieces can have different diameters, so ensure you get a reticle with a matching diameter.
Installation tips
While installing a reticle isn’t usually difficult, care still needs to be taken. Your microscope’s image quality can be ruined if you get dust, coating flecks or fingerprints in your optical path.
You can keep your eyepiece and reticle clean and clear with these tips:
- Have a clean workspace, and wear gloves.
- Before you install it, gently clean your reticle with lens tissue and cleaning fluid, working in a spiral motion. Be sure to dry it off with lens tissue to avoid leaving watermarks.
- Use compressed air to remove any dust or flecks of anodised coating from inside your eyepiece before you install your reticle.
Using your reticle
The reticle is simply an unmarked scale superimposed on your microscope image – it can’t compensate for different magnifications.
While you can make vague approximations with a reticle alone, for accurate measurements you’ll need to use a stage micrometer.
A stage micrometer is just a glass slide with a scale etched into it. The marks on the scale are precisely measured, and usually represent 0.1mm. It’s essentially a tiny ruler.
You’ll need to use the micrometer to calibrate your reticule for each different magnification.
Place the micrometer in position on the stage under your microscope’s objective lens and look down the eyepieces – you’ll be able to see both the reticle scale and the micrometer scale.
When you line up both scales, you’ll be able to use your tiny ruler to see how big your reticle increments are at that particular magnification.
Now that you know the real distance your reticle marks represent, you can swap out the micrometer for your specimen slide and start measuring.
Don’t forget that you’ll need to do this again for each different magnification.
We have stage micrometers available in two types of accuracy:
