Veterinary Microscope with 100X DRY Objective - NEVER USE OIL AGAIN

What is Koehler illumination?
Koehler illumination is an alignment technique that reduces stray light and glare caused by reflections inside your microscope.
By setting up your light path correctly using Koehler illumination, you’ll greatly enhance the visibility of your specimen.
You’ll have the advantages of an evenly illuminated field, a bright image without glare and minimum heating of your specimen – not to mention that it will transform your images from mediocre to publication quality (if you’re into that kind of thing).
While setting up Koehler illumination the first time may be a little confusing, after you have set it up once, it will be easy to repeat the process each time you use your microscope.
Who invented Koehler illumination?
The method for setting up your light path properly is called Kohler illumination after August Kohler, the man who invented it.
In 1893, Kohler added an extra lens to the microscopes of his time, changing the configuration so that light passing through the sample was uniform and no longer shadowed by the microscope’s light source (for example, a light bulb or lamp filament).
His method ensures every lens is positioned correctly to provide perfectly even light through the sample and into the field of view.
How Kohler illumination works
To allow a microscope to be set up for Koehler, it must have two adjustable iris diaphragms: the aperture iris diaphragm at the substage condenser and the field iris diaphragm nearer to the lamp.
The aperture iris diaphragm controls the angular aperture of the cone of light from the condenser, while the field iris diaphragm controls the area of the circle of light illuminating the specimen.

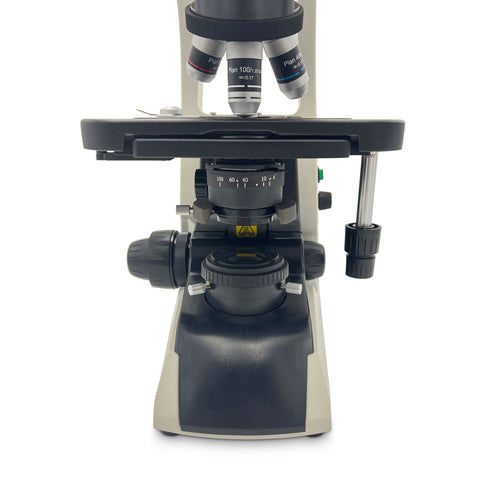
Optico BM2000 Microscope with Koehler Illumination
Setup in 5 simple steps
Adjusting your microscope for Kohler illumination involves only 5 steps:
- Focus on your sample
- Close the field diaphragm
- Refocus
- Move the image to the centre of the field of view
- Reopen the field diaphragm
Once setup is complete, you can find the best contrast setting for your sample by adjusting the condenser diaphragm.
If these steps don't work, your lens probably need cleaning. Dirt in the lens and other parts of the microscope will greatly affect the quality of your image. If you still do not see a well-illuminated sample, you may have to do the steps again to check if you did them properly.
With practice, setting up Kohler illumination becomes second nature and will transform your imaging work. It is simply one of the most important principles of light microscopy.
Koehler Illumination field iris diaphragm
Advantages
- Uniform unstructured light illuminates specimens evenly
- High sample contrast
- Eliminates stray light, limiting glare (particularly useful for photos)
- Reduces image artifacts
- Reduces specimen heating
- Quick and easy to set up
Who uses Kohler illumination?
Photographers – to reduce the amount of stray light getting into the image.
Microbiologists – to lower heat and reduce evaporation and deoxygenation in live specimens.
Biomedicine – to increase contrast and fidelity.
Microscopists – critical for advanced microscopy techniques such as differential interference contrast (DIC) or phase contrast.