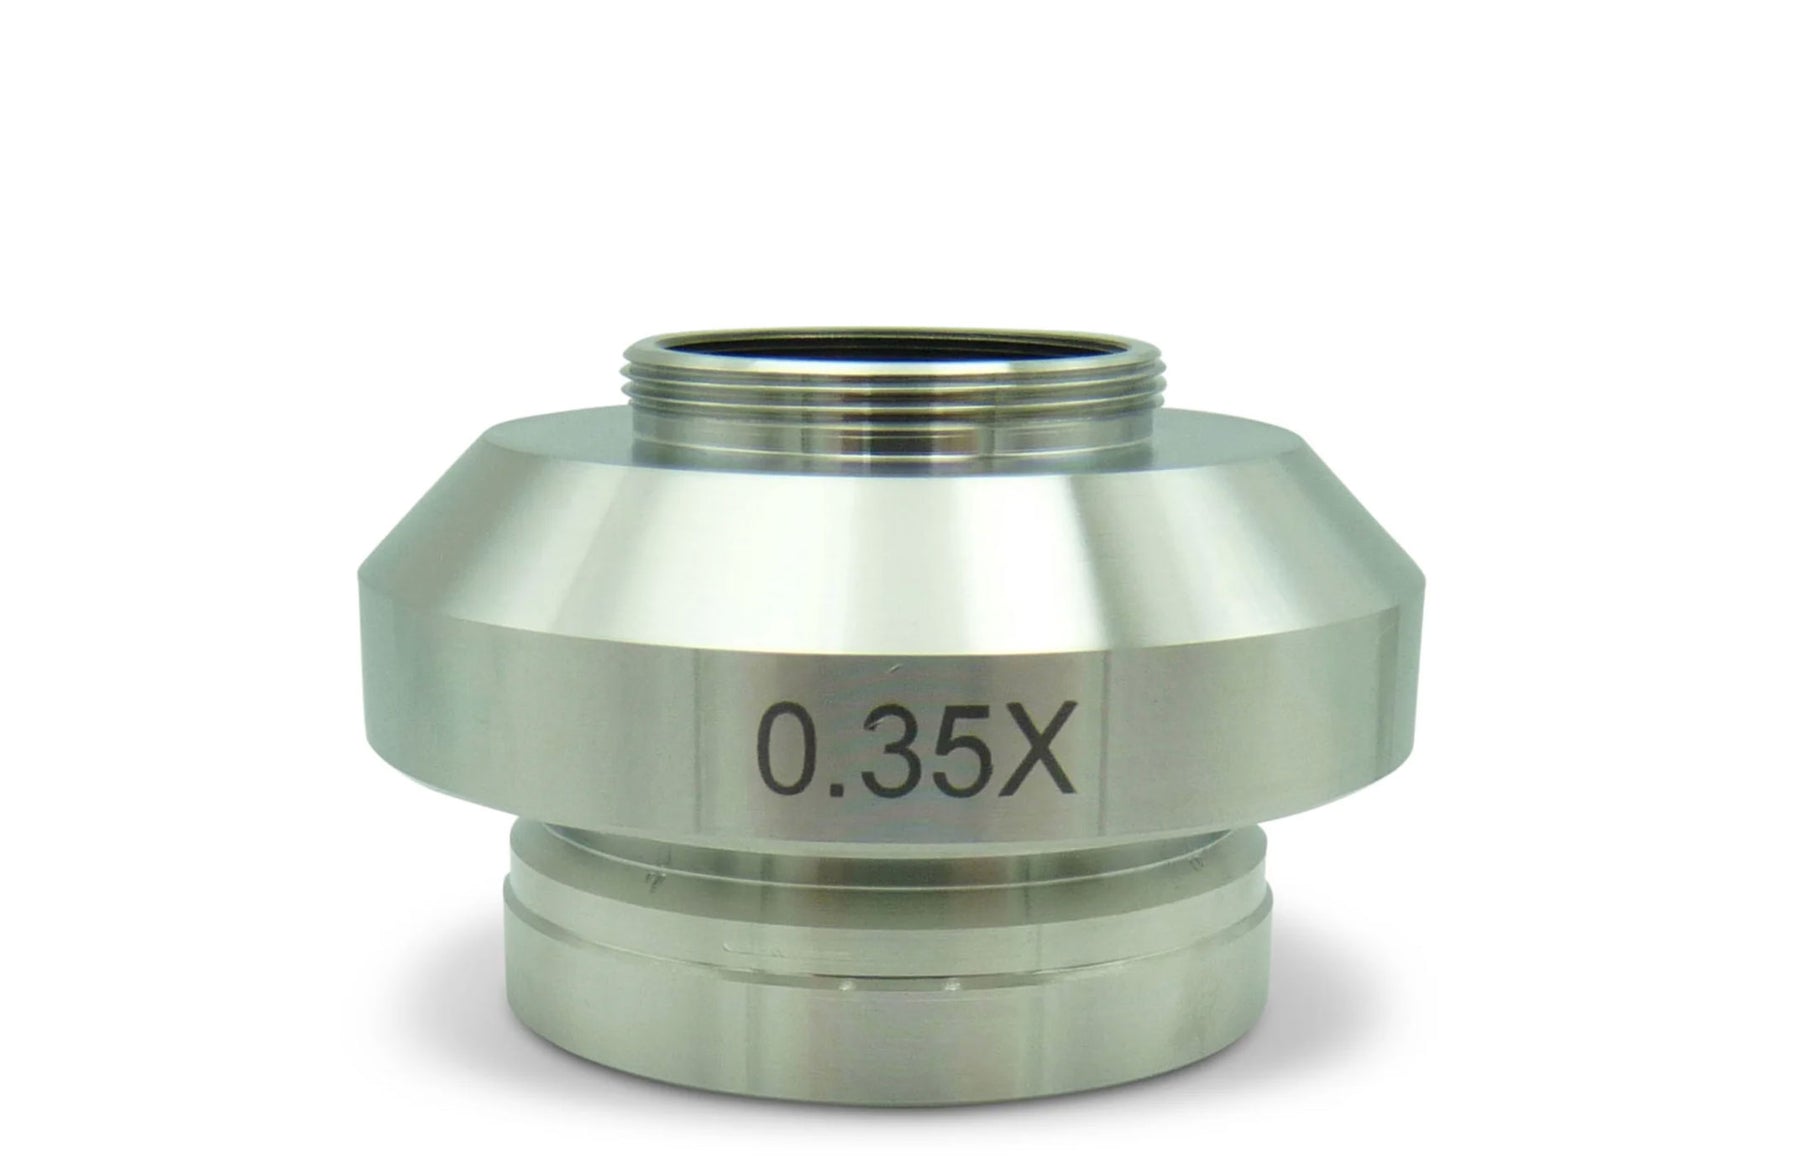
How to match a C-mount adaptor to your microscope
Finding the right C-mount adaptor for your trinocular microscope can be trickier than it seems.
So, before you buy any old adaptor, take a moment to understand the important aspects that could help you save both time and money.
What is a C-mount adaptor?
To attach a camera to a trinocular port, you need a C-mount adaptor.
In essence, this adaptor is a cylindrical metal or plastic tube that connects your microscope to your camera.
However, it not only establishes a connection, but also incorporates a de-magnifying lens to adjust your microscope camera’s field of view (FOV), which is how much of the microscope’s image you can see. This can be quite important, depending on your specific needs and preferences. For example, you might need to capture and analyse a larger area of your sample at once, leading to a requirement for a wider FOV.

Without de-magnification, your camera image will be overly zoomed in – revealing only a small part of your microscope’s field of view.
So most people prefer to use a C-mount adaptor that will most closely match the FOV of the camera with that of the microscope, so that your images will more accurately reflect what you can see through the eyepieces.
You can, of course, choose a larger or smaller camera FOV according to your preference, but you’ll still need to plan accordingly.
Picking an adaptor
Choosing the right adaptor takes a little know-how.
The first thing to know is that C-mount adaptors are typically specific to particular microscope brands.
Essentially, if you own a Nikon microscope, you’ll want a Nikon C Mount Adaptor specifically designed for your microscope model.

Most brands make their own adaptors for their microscopes to ensure that the camera image and microscope image are ‘parfocal’, which means both in focus at the same time.
Using another brand or a generic third party adaptor will often mean that you can only have either the microscope or the camera in focus at any one time. It’s not the end of the world, but it can be inconvenient.
C-mount adaptors can also vary in diameter on the end that connects to the microscope. So make sure that your prospective adaptor is the right size for your trinocular port. It’s not often a cause for concern, but if you’re going off-brand you should be careful.
The right de-magnification
Getting the right level of de-magnification in your adaptor can be crucial.
The sensor in your camera automatically enlarges any image it receives, so unless you prefer a very zoomed-in field of view, you’ll want some level of de-magnification.
While preferences vary, most users prefer an adaptor that will get the camera's FOV closest to the microscope’s FOV while still avoiding any dark corners (more on that later).
Luckily, it’s quite easy to estimate the right adaptor de-magnification based on the size of the sensor in your camera. The sensor size is often shown in the manual as a fraction of an inch, like 2/3” or 1/2”.
To get the de-magnification, divide the front number by the second number. For example, if it’s 1/2”, dividing 1 by 2 gives you 0.5. This suggests you would need a 0.5x C-mount adaptor.
If your result doesn't match an exact adaptor, go for the closest match. For instance, if your sensor is 2/3", dividing 2 by 3 gives you 0.6666, so a 0.7x adaptor would be the closest option.
If you’d prefer a larger or smaller FOV, you can simply take this rule and go with a higher or lower de-magnification as needed.
Considerations and pitfalls
It’s important to note that the above rule of thumb for matching the camera FOV to the microscope FOV assumes the use of standard 10x eyepieces.
Also, be aware that expanding the FOV to capture more of the microscope image may result in dark corners known as ‘vignetting’. This occurs due to the challenge of fitting a circular microscope image onto a rectangular or square camera sensor. You inevitably end up with dark corners where there’s no image to be seen.
In short, spending time to find the right C-mount adaptor will pay off. It will prevent problems with compatibility issues and make sure the adaptor fits your needs perfectly.
