Veterinary Microscope with 100X DRY Objective - NEVER USE OIL AGAIN
How to use eyepiece micrometers and reticles
Measuring cells and microorganisms under a microscope isn’t as simple as whipping out a tape measure.
You need to install a reticle or eyepiece micrometer tool to measure microscopic things. And to properly calibrate it, you’ll need a special glass microscope slide known as a stage micrometer.
Once calibrated, the reticle will allow you to make accurate measurements through your microscope quickly and easily.
What is a reticle or eyepiece micrometer?
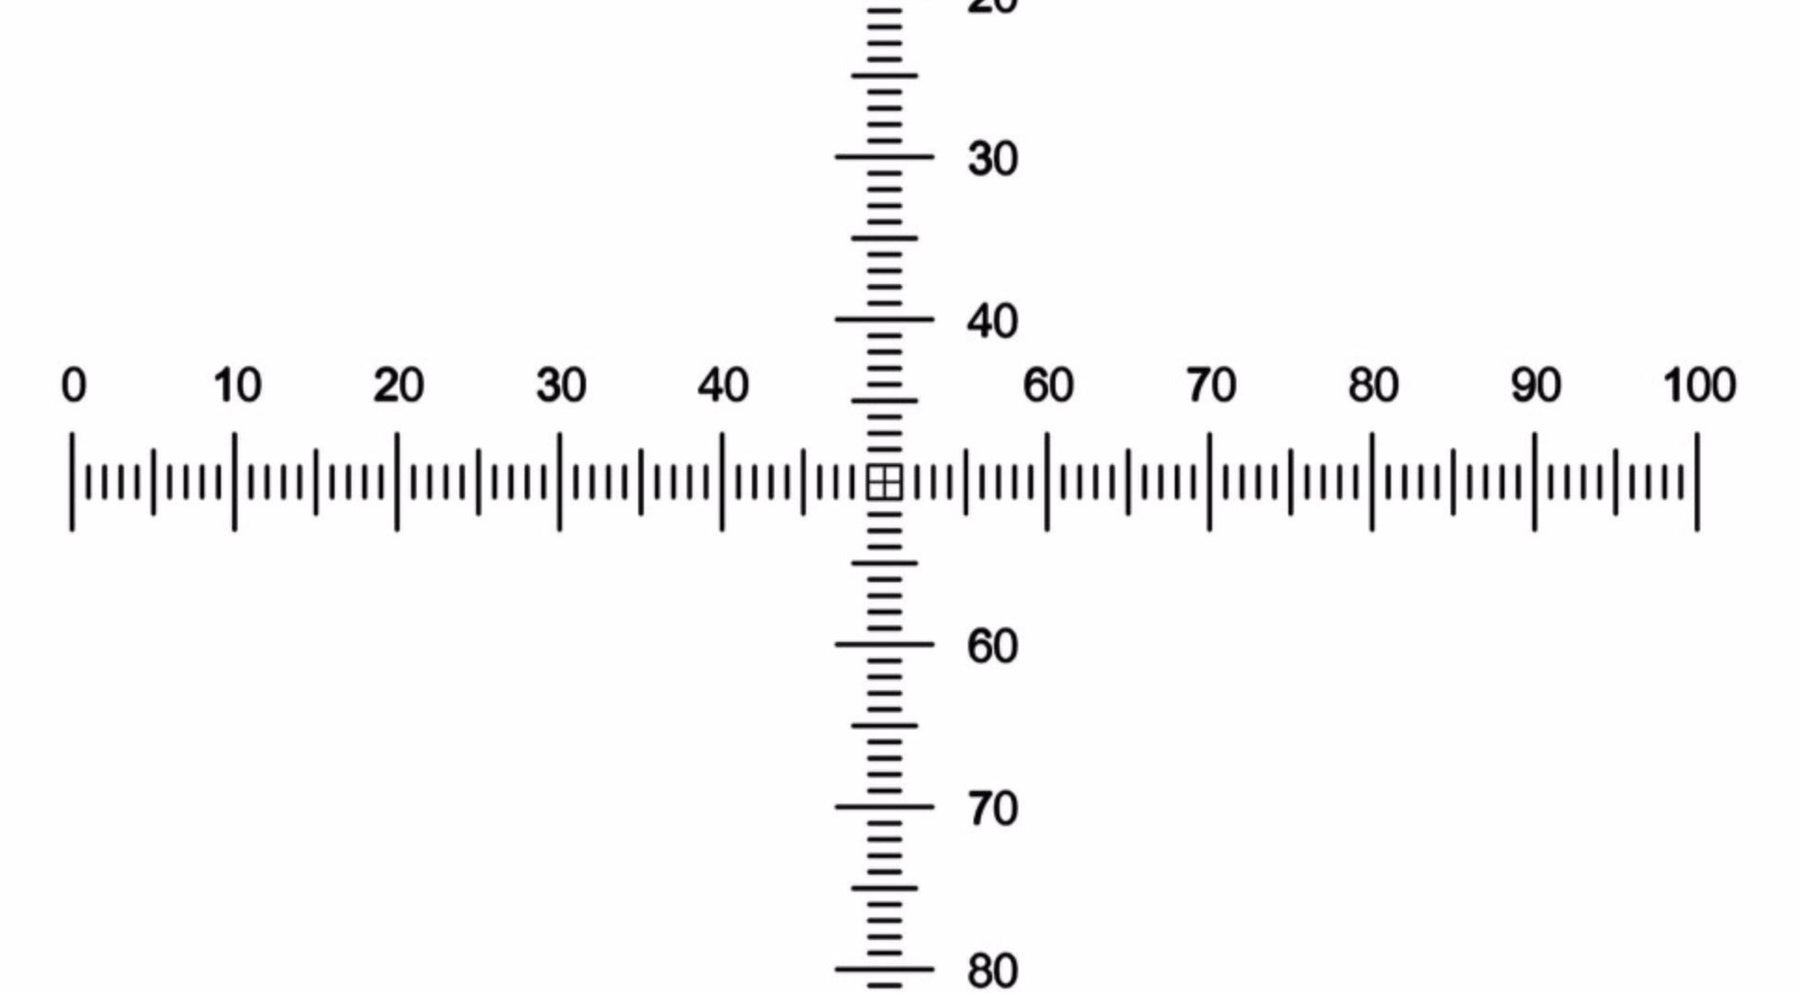
A reticle is simply a transparent glass disc with a ruler-like scale or grid inscribed on it.
Just like a monocle, you insert a reticle into only one of your microscope’s eyepieces.
Once it’s in position, the measurement scale on the reticle will be superimposed on your specimens, just like the crosshair on a rifle.
Reticles come in a variety of different scales, grids, or crosshairs so that you can choose the best measurement style for your needs.
The markings on your reticle don’t come with any units of measurement. Instead, you'll need to figure out the units yourself using a stage micrometre.
What is a stage micrometre?
Not to be mistaken for an eyepiece micrometer, the stage micrometer is a glass slide that has been precisely engraved with an extremely accurate measurement scale.
The increments on the scale are known – often 0.01mm, although there are several options to choose from.

Just like a tiny ruler, the stage micrometer is used as a reference point to determine the real distance represented by the markings on your reticle at each different magnification.
Calibrating your reticle
After installing your reticle, you need to calibrate it using your stage micrometre at each different magnification that your microscope offers.
Calibration is vital to ensuring that your measurements are accurate, not only to adjust for different magnifications but also to account for any imperfections in your microscope's optical system.
The calibration process, which you only need to do once, is fairly straightforward, although it involves some basic math.
The goal is to look through the reticle at the stage micrometer and use the micrometer scale to determine the actual distance represented by each mark on the reticle at the different magnifications.
Once your reticle is calibrated, you’ll have a built-in ruler in your eyepiece, which you can use to measure other specimens (at the same magnification) whenever you want.
A step-by-step guide
Here’s a summary of the process:
- Install your reticle into an eyepiece and position your stage micrometer under the microscope, where you would typically place your specimen slide.
- Switch to the lowest magnification and focus on the micrometer. If your reticle scale isn’t horizontal, rotate your eyepiece until it is.
- Align the micrometer and the reticle scales so they are parallel, with the same starting point.
- Find a convenient point where the larger marks on both scales line up.
- Note the number of increments those marks represent on each scale.
- Multiply the number of stage micrometer marks by their known width (usually 0.01mm) to find the total distance.
- Divide the total distance by the number of reticle increments to determine the length of each reticle increment at that magnification.
- Write down the measurement, switch to the next higher magnification, and repeat the process for the other objectives.